The visual editor
This tutorial introduces the visual editor: a web page (that you access from your internet browser) displaying a graphical interface that allows to create new applications and change preferences.
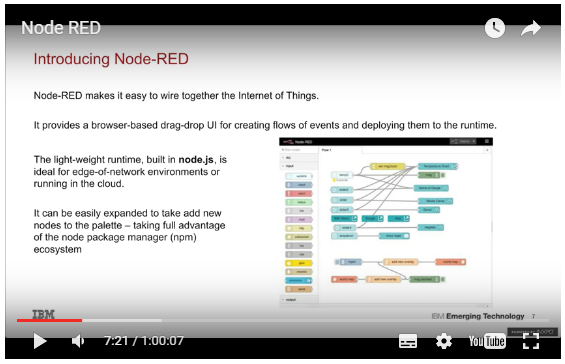
The visual editor is IBM’s Node-Red (http://node-red.org) an open source visual editor for using the internet of things.
It is a very dynamic project with an ever growing community.
Discovering Node-RED
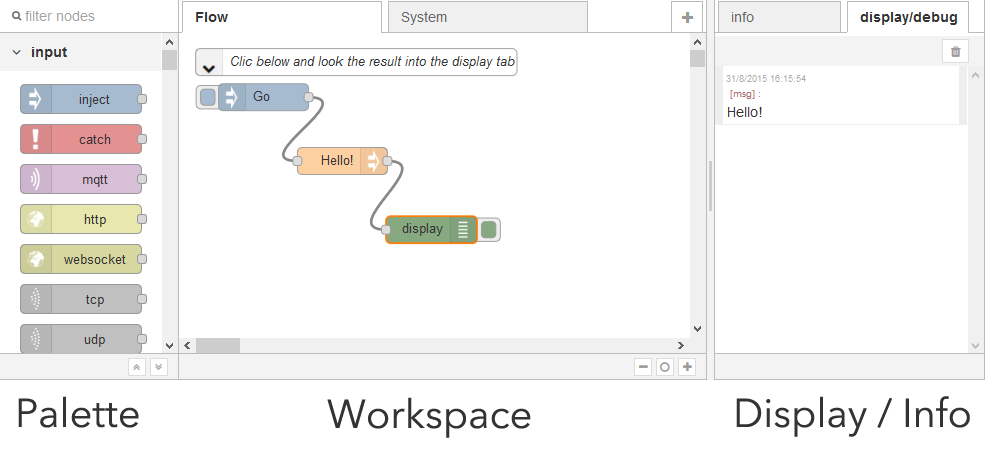
The Palette contains all available nodes.
Nodes can be wired together to build flows.
In the flow above, clicking “Go” goes through “hello” and ends in the display node that prints “Hello” in the display tab.
NodeRED tutorial
Follow the great tutorial “getting started with Node-RED”
How to build a flow
Building a flow is easy:
- Drag and drop nodes from the left palette
- Wire them together by drag’n dropping their handles
Activating
Once modified (by adding or removing nodes or wires) the flow should be activated by using the activate top right button.
Activating pushes the flow from your desktop web page to the device.

Trigger the flow
The flow is triggered by a manual event (as the “Go button” above) or by external events (tweets, NFC tag, …). When triggered, the execution starts with the trigger node and goes right through the flow. If a Debug or Display node is invoked, a string is displayed in the info/debug tab.
As stated in the “Try and understand” tutorial, flows follow the scheme below:

You can click on the left part of the Go node. This injects to the hello node (whose job is to put hello on the main track of the flow, known as the payload), and then to the display node whose job is to display the payload.
If you now select the display tab, you should see the output:
Modify the flow
Each node can be tunned by double clicking it. Double click on the Hello node (which was built by dragging a node Set whose job is to change the value of the payload track of the flow):
You can change the value to “Hello world” and click ok.
Now a particular point should be understood:the browser you are looking at is running on your computer, not on the Thingbox/TimeSquAir. You just edit the flow on your computer the same way you edit your Facebook page.
When the modification of the flow is complete, it must be sent to the Thingbox/TimeSquAir where it runs.
Use the “Activate” button for that:
Now you can hit the Go bouton again!
Important note: the Pi need about 40s to definitively write the flow: do NOT power off or reboot the Pi before waiting this delay after pressing the Activate button, the flow may be lost!!!
Learn more about Node-RED
First read the IBM’s Node-Red websites (http://nodered.org/) and https://developer.ibm.com/open/openprojects/node-red/.
noderedguide.com series of lectures designed to get you started with Node-RED
You can also go to Youtube.com to get great video tutorials
- Node-RED innovators Dave Conway-Jones and Nick O’Leary provide an overview, demo, and technical details for their innovation that’s making a big splash.
- Read (and contribute to) the forum
How to find new nodes
Browse the IBM’s repository: http://flows.nodered.org. There is a great Node-RED community that publish new nodes every day.
Use the “Import Node tutorial” to learn how to import nodes.